
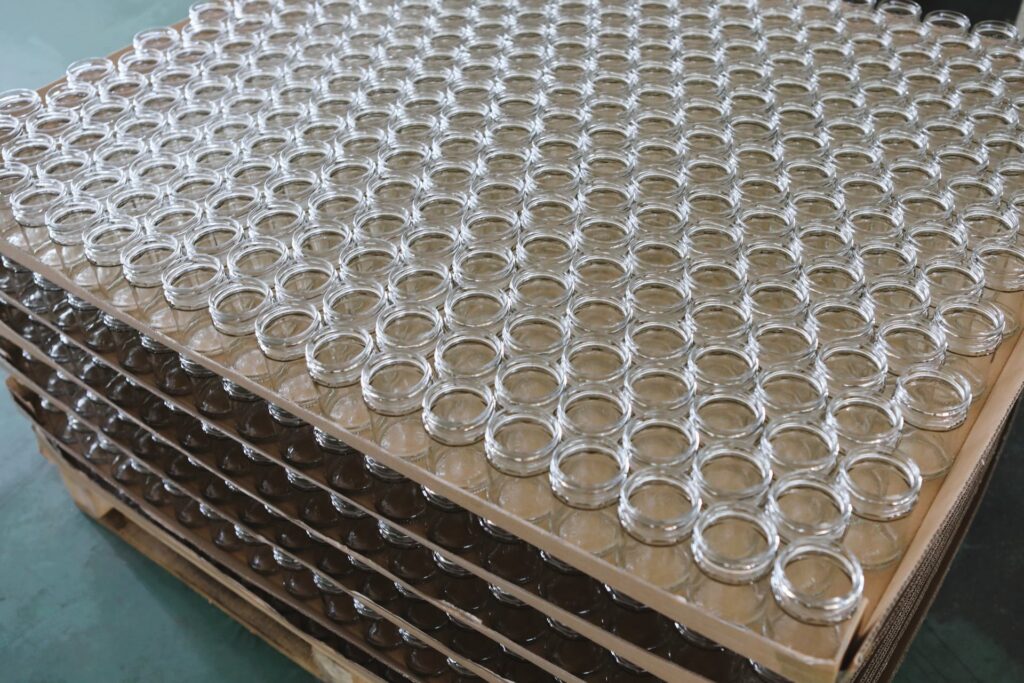
A glass food bottle begins as a controlled material recipe and ends as a container with a defined capacity, neck finish and dimensional specification. Between those points, heat and precision machinery transform the material into a shape that can be filled, sealed, transported and used.
Understanding this process helps packaging buyers ask better questions. It explains why drawings, closure compatibility and quality criteria matter before an order is placed. This guide describes common container-glass manufacturing stages; equipment, operating conditions and inspection arrangements vary by plant and product.
First, define the bottle that needs to be made
The manufacturing brief normally identifies the intended capacity, overall dimensions, weight target, color, neck finish and appearance. For food applications, the buyer should also explain the filling process, storage environment and distribution conditions. These requirements influence the specification that the manufacturer evaluates.
Nominal fill volume is different from brimful capacity. The drawing should make that distinction clear and include the tolerances needed by the filling operation. A bottle that looks correct in a rendering may still create problems with a fill-height sensor, capper or label applicator.
When developing custom glass bottles, resolve these operational details alongside the visual design. Changes made after tooling or sample approval can affect cost and timing. Keep a revision-controlled specification so that the bottle supplier and filling team work from the same information.
1. Prepare the raw materials and cullet
Container glass is commonly produced from a batch containing silica sand, soda ash, limestone and recycled glass known as cullet. The exact recipe is controlled for the required glass properties and color. Cullet must be suitable for the process; unwanted materials can interfere with glass quality.
From a purchasing perspective, a recycled-content claim should be supported by the supplier’s relevant records. The presence of cullet in the manufacturing process does not establish a particular percentage for every bottle. Ask what the claim covers and whether the figure applies to your product or a broader production average.
2. Melt and condition the glass
The prepared batch enters a high-temperature furnace, where it becomes molten glass. Before forming, the glass is conditioned so that it can be delivered consistently to the forming equipment. Temperature and material consistency are important because the glass must flow into the intended shape.
There is no single operating temperature or cycle time that buyers should assume for all plants. General process diagrams are useful introductions, but a supplier’s approved production method is the relevant reference for a specific article. Avoid turning an illustrative temperature into a universal purchasing requirement.
3. Cut measured portions called gobs
The conditioned glass is divided into measured portions, commonly called gobs, which feed the forming machine. Each portion supplies the glass for a container. Controlling that delivery helps the process achieve the intended bottle weight and distribution.
For buyers, total bottle weight is only one part of performance. Two containers with similar weights can have different geometry and glass distribution. Evaluate the finished specification and test results rather than assuming that the heavier sample is always stronger or more appropriate.
4. Form the container in molds
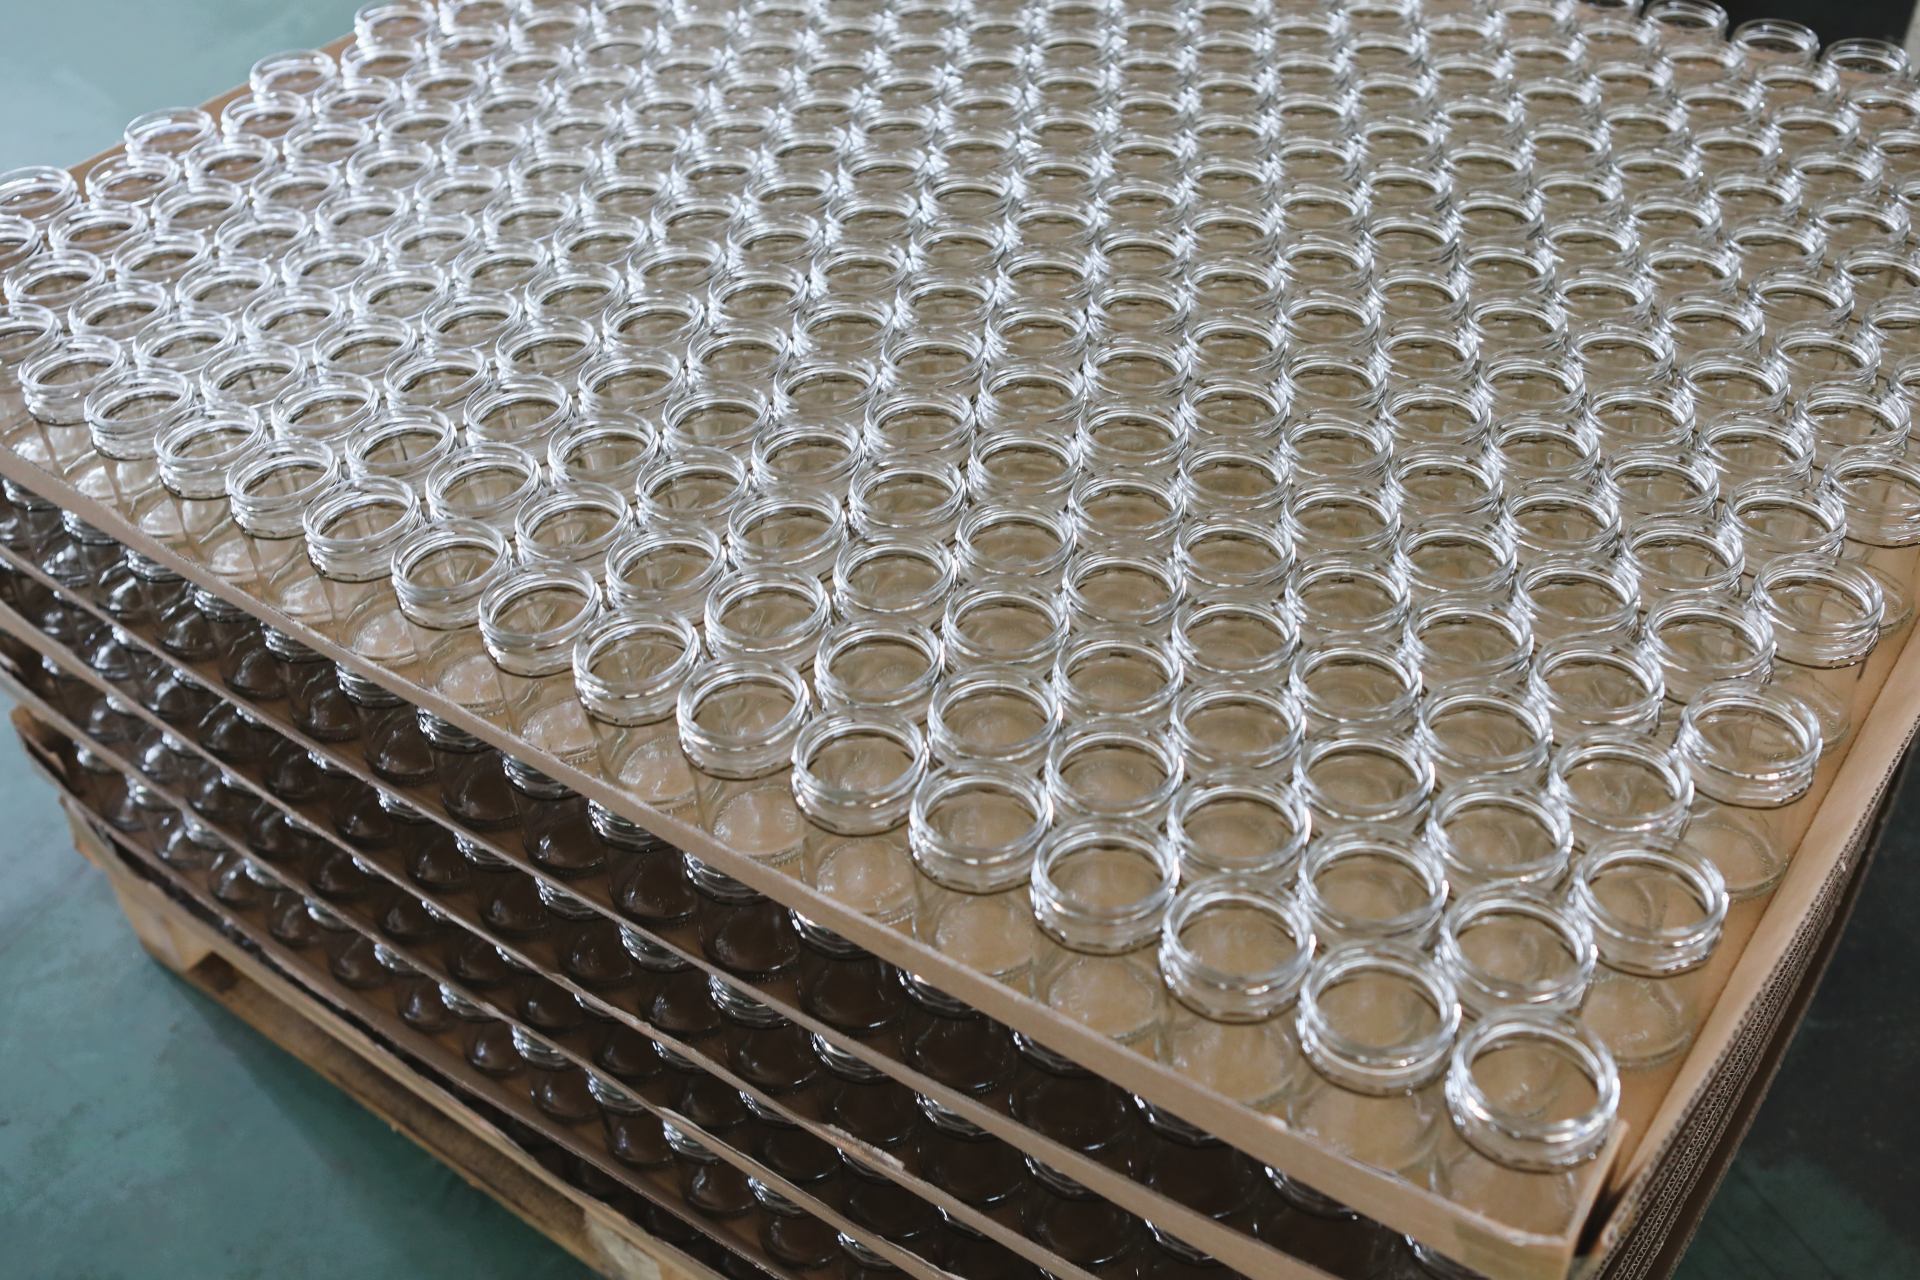
Industrial container forming commonly uses an initial shape, or parison, followed by a final molding stage. Emhart Glass describes blow-and-blow and press-and-blow approaches, with the method selected for the container and equipment. Narrow-neck press-and-blow processes are also used for suitable bottle designs.
The important purchasing distinction is that a process name alone does not guarantee suitability. The finished container still needs to meet its agreed drawing and performance requirements. Ask the supplier to explain any design constraints that affect your requested shoulder, base, neck or embossed details.
Mold development connects appearance with function. A distinctive profile may require changes to handling guides or case dividers. Embossing can support identification, but it should not interfere with the labeling area or create an unworkable specification. Review samples with both marketing and production staff.
5. Anneal through controlled cooling
After forming, containers pass through an annealing process that controls cooling to reduce residual stresses. This is a manufacturing step, not a promise that the bottle can withstand any later temperature change. The intended filling and handling conditions still require assessment.
For hot-filled or thermally processed foods, give the supplier the actual process requirements and have the complete package validated by the responsible technical team. Do not infer thermal-shock resistance from appearance, ordinary room-temperature handling or the general fact that the container is glass.
6. Inspect against the agreed specification
Manufacturers use inspection systems and quality checks appropriate to their equipment and product. Buyers should request a clear description of what is inspected, how defects are classified and how nonconforming material is handled. An inspection claim is more useful when tied to defined acceptance criteria.
| Area | Buyer concern | Record to clarify |
|---|---|---|
| Neck and sealing surface | Reliable closure application | Drawing and dimensional limits |
| Capacity and overall dimensions | Filling and line compatibility | Measurement method and tolerance |
| Appearance and defects | Safety, function and presentation | Approved defect classification |
| Process performance | Suitability for intended use | Relevant agreed test evidence |
Keep commercial approval separate from assumptions about food safety. Bottle inspection does not replace the food producer’s process controls, closure validation or finished-product shelf-life assessment. Each part of the supply chain contributes a different piece of evidence.
7. Add decoration and compatible closures
Some bottles receive labels, printing or other decoration after manufacture. These operations introduce their own appearance and performance requirements. Check scuff resistance, label adhesion and readability under the actual storage and handling conditions, especially where condensation or repeated washing is expected.
A bottle and closure should be specified as a compatible system. Select food packaging closures by the documented finish and application, not by visual similarity alone. The liner, sealing geometry and application settings can matter as much as the cap’s outside diameter.
8. Pack, identify and protect the shipment
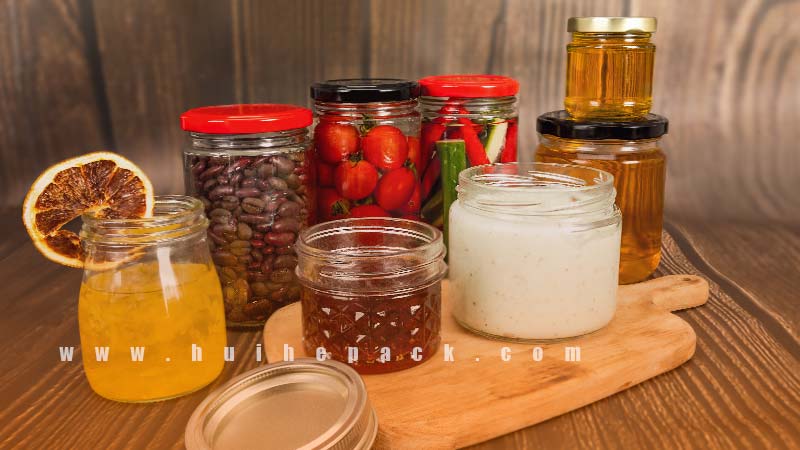
Finished containers need protective handling between the factory and the filling line. Clarify pallet dimensions, dividers, wrapping, cleanliness expectations and unloading arrangements. Packaging that works for one transport route may need adjustment for another, particularly when cartons are handled repeatedly.
Traceability markings and batch labels help connect delivered stock to production records. O-I’s public guide illustrates how manufacturer and mold-related marks can carry useful identification. Coding systems vary, so ask your own supplier how to interpret the markings rather than applying another manufacturer’s code.
What should a buyer approve before ordering?
- The current bottle drawing, capacity definitions and tolerances.
- The exact closure and any liner or tamper-evidence components.
- Samples representing the intended production specification.
- Relevant quality criteria, test responsibilities and reporting.
- Decoration artwork and performance expectations.
- Transit packing, batch identification and receiving checks.
Bring representative samples to the filling team early. Trial the complete package and document any necessary equipment settings before committing to volume. This is especially helpful when moving to a new shape, a lighter bottle or a different neck finish.
Turn process knowledge into a clearer brief
Knowing how glass food bottles are made helps you focus on the decisions that affect the finished package. Share your food type, process, capacity and market with HUIHE PACK when discussing glass food packaging. Ask for a specification and sample plan that connect the design to your actual operation.
Technical references: O-I: how a glass bottle is made; Emhart Glass: making glass containers; O-I: container identification and glassmaking.